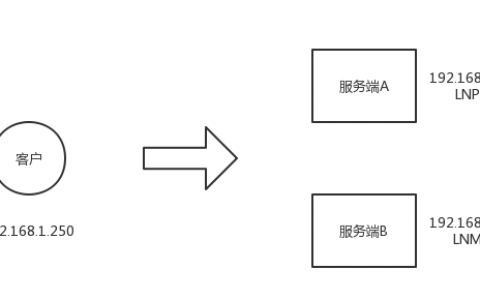
注意:需要提前搭建dns服务器
postfix的配置流程
1、关闭原有的sendmail服务,避免冲突
#service sendmail stop#chkconfig sendmail off
2、安装邮件发送服务,这里用postfix
#yum -y install postfix
3、启动postfix的服务
#service postfix restart
4、安装邮件接收服务,这里用dovecot
#yum -y install dovecot
5、启动dovecot的服务
#service dovecot restart
6、配置postfix的文件,添加如下内容
#vim /etc/postfix/main.cf
myhostname = mail.birdteam.net
mydomain = birdteam.net
myorigin = $mydomain
mynetworks = 192.168.18.0/24, 127.0.0.0/8
relay_domains = $mydestination
修改如下内容
inet_interfaces = all
mydestination = $myhostname, $mydomain
7、重启postfix的服务
#service postfix restart
8、修改加密配置文件
#vim /etc/sysconfig/saslauthd
MECH=shadow
9、重启加密验证服务
#service saslauthd restart
10、将加密服务和postfix相结合
#vim /etc/postfix/main.cf
smtpd_sasl_auth_enable = yes
smtpd_sasl_local_domain = ”
smtpd_recipient_restrictions = permit_mynetworks, permit_sasl_authenticated, reject_unauth_destination
broken_sasl_auth_clients = yes
smtpd_client_restrictions = permit_sasl_authenticated
smtpd_sasl_security_options = noanonymous
11、重启postfix的服务
#service postfix restart
12、编辑dovecot的配置文件
#vim /etc/dovecot.conf
protocols = pop3 pop3s
protocol pop3 {
listen = *:10100
}
13、重启dovecot的服务
#service dovecot restart
14、安装imapd的模块,因为dovecot不稳定
#yum -y install cyrus-imapd-devel
15、启动imapd的模块
#service cyrus-imapd restart
16、修改cyrus的用户密码
#echo 123456 | passwd –stdin cyrus
17、添加测试用户
#useradd birdteam
#echo 123456 | passwd –stdin birdteam
18、通过cyrus管理用户的邮箱,并且添加实验用户
#cyradm -u cyrus localhost
cm user.birdteam
quit
19、将imapd模块与postfix关联
#vim /etc/postfix/main.cf
mailbox_transport = lmtp:unix:/var/lib/imap/socket/lmtp
20、重启postfix的服务
#service postfix restart
21、安装web端页面
#yum -y install squirrelmail
22、web端设置
#/usr/share/squirrelmail/config/conf.pl
D—cyrus
2—1—birdteam.net—3—2—r—4—5—y—r—10—1—zh_CN—2—gb2312—r—s—q
23、启动网络服务
#service httpd restart
24、测试
www.ysidc.top 西数超哥博客,数据库,西数超哥,虚拟主机,域名注册,域名,云服务器,云主机,云建站,ysidc.top